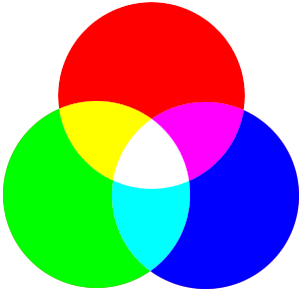
- Curves- RGB
- Channels- showing dark and light areas within an image
- Levels
- Colour wheel
- Masks
- Adjustments
Here are some of the notes I took during the session...
- Levels
- Histogram- changing ranges of brightness
- 0= dark areas within a photograph, 25= light areas
- Hold ALT key shows areas which are starting to be blown out when moving the sliders
- Middle slider effects middle tones within the image
- Curves
- Changing colour/ tones
- The steeper the graph the more contrast
- S curve is common
- Bottom left of graph shows dark areas
- Bottom right of graph shows light areas
- S curve is helpful in making one are darker and the other lighter
- If an image is colour can alter the tones with the image
- Masking
- Used to modify selections afterwards
- black and white image
- Grey is a degree of transparency
- If making selection add mask
- Not able to mask if layer is background layer, so if double click on layer it will copy
- Alt and click on mask to view
- Command T= transform
- Use paint tool to add black which will remove parts from selection or white to add parts
- Change opacity if needed
- X key to switch from black to white or vice versa
- Adjustment layers
- Making parts of the selection suitable for other in tone and colour
- Layers can be turned off so not destructive
- Effects layers below only
- Can have mask to add shadow or highlights
- Fill layer= Edit- Fill- choose colour


No comments:
Post a Comment